

Staged Milling and EDM for a Thin-Walled Enclosure
The demonstration follows a thin-walled enclosure through indexed machining, a second fixture and finishing. It also shows the electrodes made for features that require EDM access.
Chapters
Selected chapter: Interior machining
Engineering notes
Plan the transfer datums and retain support while opening the cavity. Review cutter access and the EDM features with the shop before finalizing corner geometry.
Related engineering knowledge
Transcript
The enclosure is finished after programming, setup and machining.
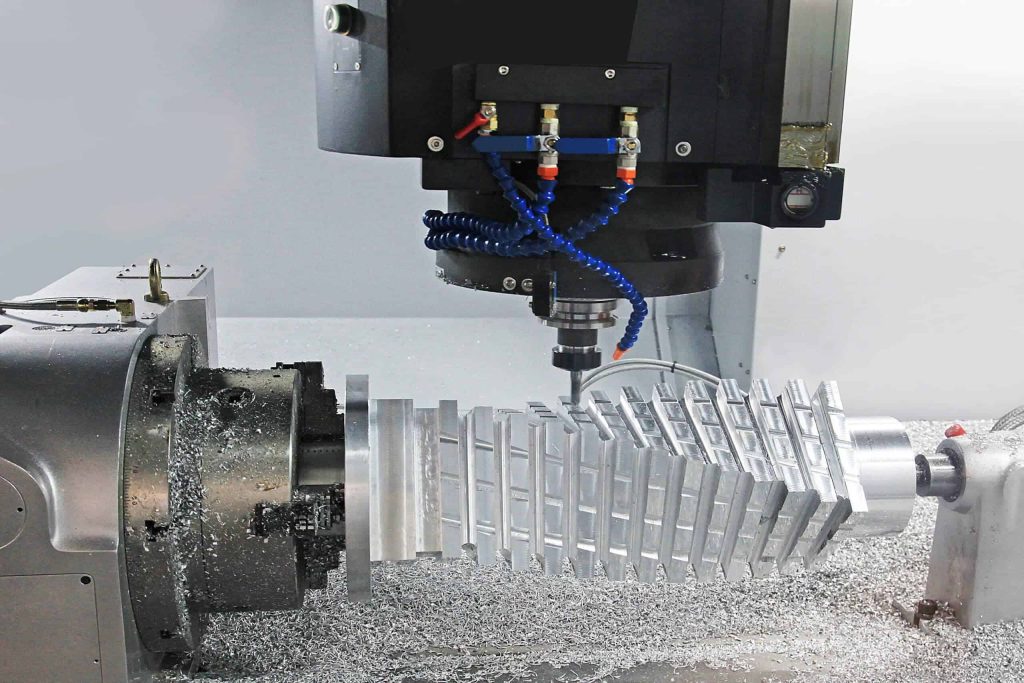
There were three main setups: one five-axis and two three-axis.
First, we made the fixture using the three-axis machine.
We held the base for the five-axis work and machined the accessible surfaces and chamfers.
The curved features were machined in that setup as well.
After that, we made a contour fixture on the three-axis machine and located the part inside it.
We supported the enclosure with fixtures and fastened it from the sides because the walls were thin.
We faced the part, roughed it out and opened the cavity.
We cut the T-slots, cleared the corners and finished the surfaces.
We drilled the holes and kept the center stock clear of the cutter while slotting.
A smaller tool reached the inside before we released the part.
We clamped the bottom for the final work, then made the EDM electrodes.
The side features and recessed areas that the mill could not reach required EDM.
Most of the starting material was removed. What would you quote for this job?